Rules Mistakes: Man did it feel really hard to do interact with the Wing Board, and my Cav did not want to commit (Although I did not need to be so afraid of being out of compliance, a note for when I do the next battle for sure!) up the wing board, well I was interacting the modifiers wrong (I THINK, I am UNSURE, I can’t find an example or anywhere in the rules, I am probably just a bit dense and that is why) I was treating DR modifers as modifiers to the DR Required. This meant I often had a 10% or 20% chance to commit brigades from support lines to front lines when I should of had like a 40% or 50% chance. Oops. Unfortunately I only really got to play with these rules for about 1 turn.
0900 to 1000
The first part of the hour and the end of the last where pretty stagnate, chalked up to my commanders not willing to innovate on the fly and taking huge penalties to their dice rolls (not that I read the rules wrong) So the battle had developed into a quagmire, with the French Slowly gaining ground, grinding down the Allies resistance. At 0920-0939 the Heroic Packmoer Battalion and their accompanying Battery who had withstood 2 hours of constant assault and bombardment finally broke, allowing the French Gardes to finally breach the last remaining defensive position (I am not using the breach markers since every wall has been breached!).
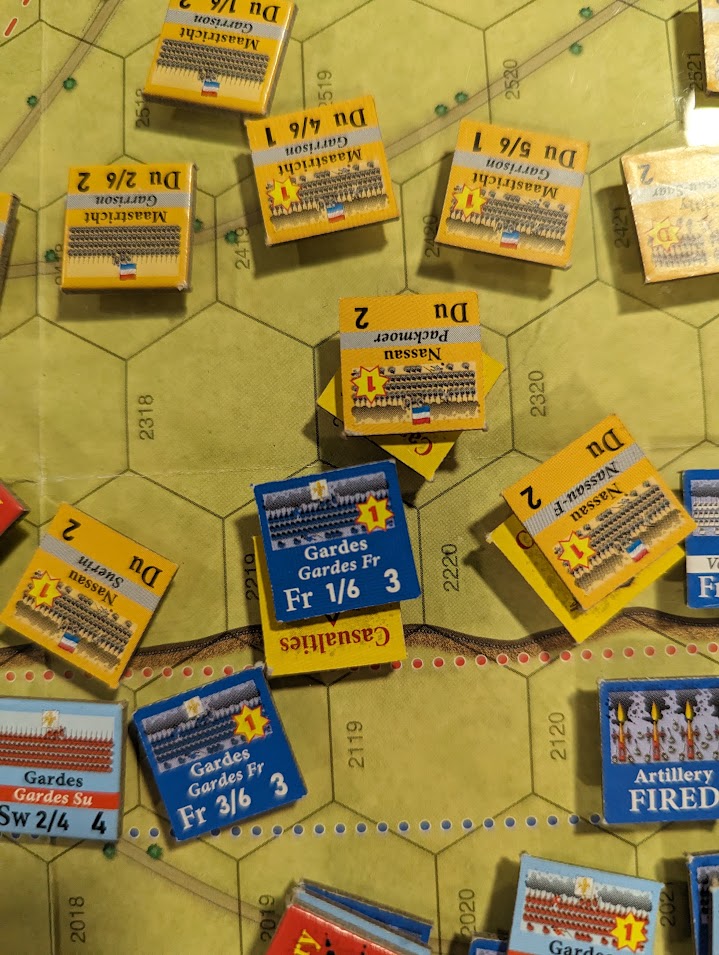
Towards the end of the 0939 turn, a combined effort by the Spanish Infantry brigade and the 1st Scots Guard rout and completely break the assault on Neerwinden. They even capture some too forward deployed French Guns. This victory buys a small amount of hope for Allied Commanders, and puts the French on the Backfoot in at least one of their wings.

On the Laer Wing the first large Cavalry on Cavalry takes place between the Montfort brigade and the Hanoverian Cavalry. Coming out strong the Allied Cavalry does some serious damage and almost scattered the Brigade out of Compliance. However during the counter attack one of the Montfort Brigade’s battalions goes on an absolute rampage showing as much Élan as possible scores 3 attack twice results and eliminates two enemy battalions! I don’t think this was a particularly smart attack for the allies, but I was curious to see how some open field Cavalry engagements would play out. It’s can be very deadly and very decisive in this game.
1001 to 1020 an Inglorious End
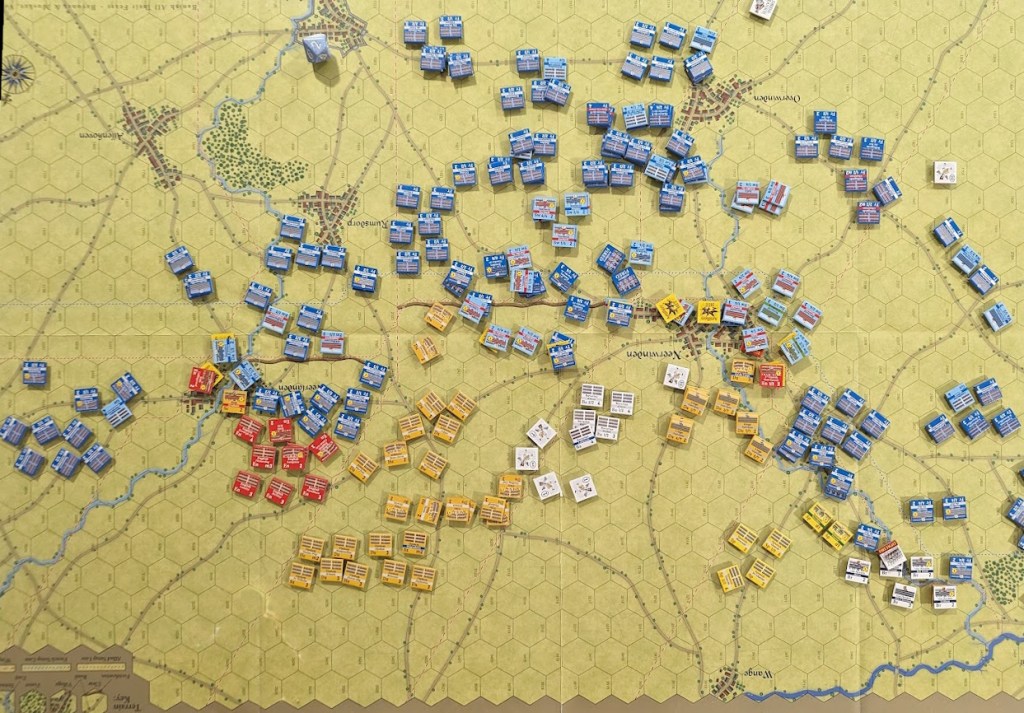
I won’t waste time in spoiling the end of the battle, I decide to call it quits after the 1020 turn for multiple reasons, the biggest one was my table was going to be required that evening for an Infinity League match up I had to re-schedule at my house, and the other reason was how obvious the Allies had lost. However I did figure out better how to use the command board which helped the game make MUCH better sense.

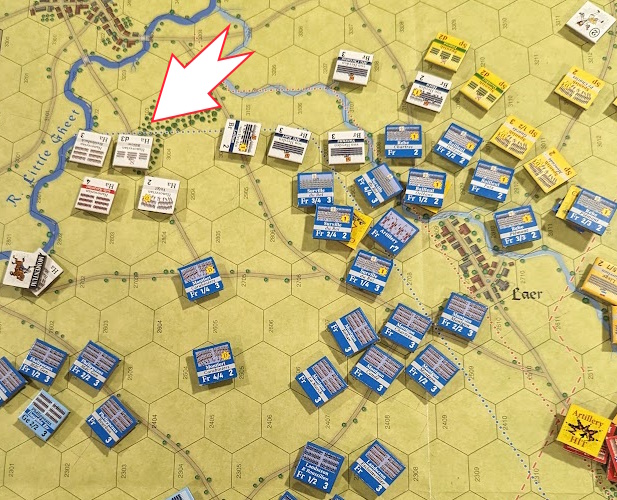
The last turn saw a renewed and effective French push into Neerwinden, a massive cavalry counter attack on both flanks from the French, and the complete disintegration of the Allied defensive line. The useless English Cavalry (who failed multiple charge order changes) were being charged and harassed by Infantry. All in all it was a complete military disaster for the Allies. Historically Bureaucracy got in the way of letting Luxembourg finish the Allied forces, in this timeline however he wouldn’t even need to consult them as the job was pretty well done on the field.
Tactical Notes: I did get a lot of rules wrong, which I think was kind of a given since this is my first time in this system (or any like it) and there was no introductory scenario to cut my teeth on first. One note that I will definitely make good use of when I set up Blenheim is to not be afraid of Battalions or even whole brigades falling out of Compliance. It’s not that big of a deal, and often time the gain is more worth than the cost. I played very conservatively along those lines and I definitely think that really hurt the Allied chances of standing their ground (Of course two Brigades routing on Turn 1 from the Plains did that for them as well).
Wrap Up: I really enjoyed my first foray into this series, I am very excited to get the next game on the table and play it out (making sure I’ve got no Infinity league games to crop up and move it is important as well!). I got a lot of rules wrong but I do think by the end I had it figured out. I think there’s a couple of places where I may add some house rules and or make a few tweaks to suit the game more to my liking, such as I think there should be a negative modifier for rout checks if you have no units in the line behind you.
My only other complaint was the time it takes to play, I think I spent about 6 hours playing about a third of the turns? A lot of the actions I took where very samey, It is unlikely I could ever convince anyone to play with this one with me, especially when I have great war games that can play in 3-6 hours.


Leave a comment